Saturday, June 20, 2015

Elements of Destruction -- The Scenario

I had a request to post the scenario I ran at Cangames this year so here goes!

Before getting to the scenario proper, some notes about how it came about. Each year for at least the past 5 I have run a Force on Force game at Cangames which I have always enjoyed running and the players seem to enjoy as well (since it has largely had the same group of players each year!). The first few years I spent a lot of time planning and getting figs and arranging terrain but for the last couple of years I have spent more of my preparation time on my Roman game than on Force on Force.

Last year Ed and I had a really good idea for a game based on Libyan rebels trying to capture Muammar Gaddafi but we just didn't have time to pull it all together and I ended up running "The Bridge at al Muff" again -- which went well (Stan has a blog post about it here ) but I was reluctant to run a game this year (again because a lot of my effort was going into the Roman game).  I eventually decided I would run a game but would try and minimize the amount of effort that would go into it.

The scenario idea started with the Honest John launcher mini that I have that has never (up until now) actually seen action on the table so I thought how can I use this (and why not the Nike HAWK launcher that I got at the same time). So, terrorists get a nuclear weapon, US forces fight to get it away from them and the HAWK gives a (barely) plausible reason why the US doesn't have massive air cover for something like this. Then I had a strange thought -- what if we have new players in the game, would this be good for them (strange because as I said it is generally the same group of players every year but also because in my experience with a game master to manage the fiddly situations most people pick up FOF fairly quickly).

So, I decided that the basic flow of the game would be (1) Delta force would land and their would be a brief fight to gain control of the Honest John and other weapons caches -- The US player would be given a sense that time is really of the essence here but it would be a one sided,, brief fight to allow the game mechanics to be demonstrated. (2) There would be an interlude where the US helicopters arrive to extract Delta, the HAWK battery is revealed, helicopters are shot down and lots of insurgents are revealed -- This is just done as narrative, with no game mechanics (3) The Delta troops with the help of arriving Rangers try to hold off the insurgents while trying to destroy the HAWK battery and rescue the helicopter crew.

That seems to be more than enough introspective rambling so here is the scenario!

SCENARIO: ELEMENTS OF DESTRUCTION

A faction of  al Shabab in Somalia has a acquired a Cold War era Honest John launcher and possible chemical and nuclear warheads and are planning to fire it at a city in Kenya. Delta force troops will insert using a HALO jump and will be supported by Rangers entering Somalia by land from Kenya.
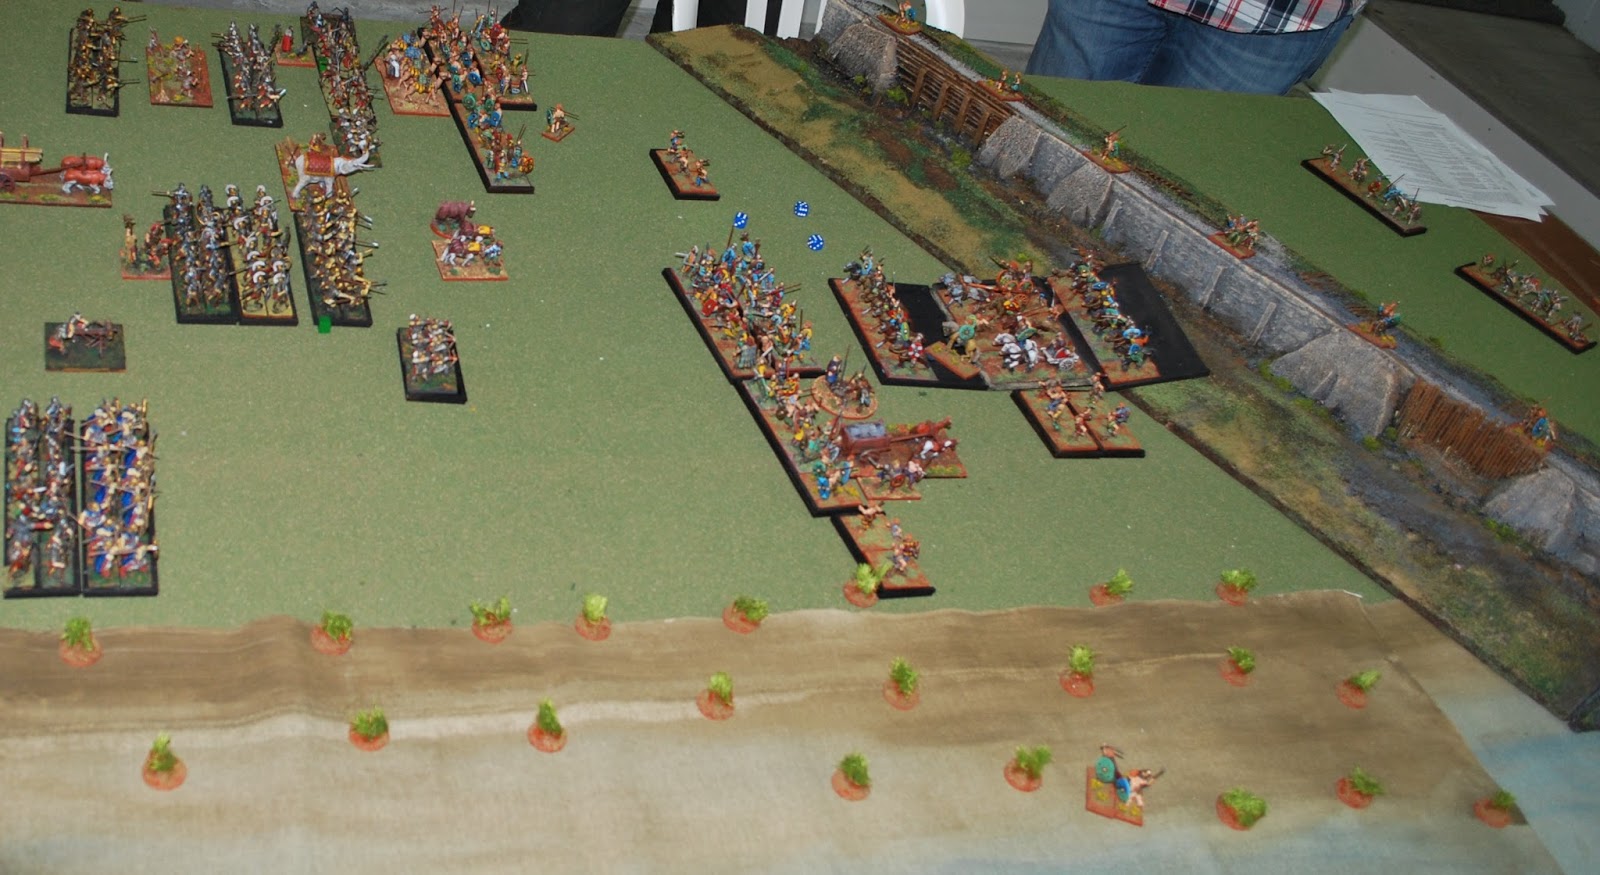
Table setup

The table as shown is a city with a ruin of a colonial building on a hill. The Honest John and 2 weapons caches are in the centre of the city and 5 hot points are placed around them (but are inactive at the beginning of the game).

Delta Foce are place on the road near the objectives and 4 insurgent groups are place to guard them.

(Note: In hindsight, I would have pushed the buildings closer together to create denser terrain -- I say this to myself after every game and every time I set up a new game I leave everything spread out!)

US Forces
Delta:
Troop Quality/ Morale: D12/D10 (Drops to D10/D10 in the second phase of the game)
Confidence Level: Confident
Supply Level:Abundant
Body Armour: Standard (+1D)

Delta is a arranged in 4 troops of 4 each armed with an M4

Rangers:
Troop Quality/Morale: D8/D8
Confidence Level: Confident
Supply Level: Abundant
Body Armour: Standard (+1D)

The Ramgers have 6 HMMWVs, 3 armed with M2 HMGs and 3 with Mk19 AGLs.
Each HMMV has 4 soldiers with 3 M4s and 1 SAW.

al Shabab
Troop Quality/Morale: D6/D8
Confidence Level: Confident
Supply Level: Normal
Body Armour: None

The initial insurgent groups consist of 1 leader, 2 with AK47 and 1 with RPG

Special Rules

Initially the the hotspots are inactive and the Rangers are off the table. Once the Launcher and 2 weapons caches are secure the extraction helicopters will arrive. At this point any remaining insurgents from the initial groups are removed from the table and the Delta troops can rearrange themseleves around the 3 objectives as they choose.

After this is done the HAWK battery is revealed (this consists of 3 peices of equipment, each with a crew of 4) in the the ruins on the hill. The crashed helicopter is placed on the slope of the hill as are 2 bunkers with HMGs. The hotspots are now active and a force consisting of 1 leader, 4 AK47 amd 1 RPG is placed on each of them with an additional force of the same size being placed in the ruins. The troop quality of Delta force is reduced for D12 to D10.

At the end of each turn the Ranger player makes a TQ check and if successful 3 HMMMVs will enter at the beginning of the following turn

The insurgency level is 4 and the following table can be used

Die Roll Insurgent Unit
2 1d6 small arms, 1x light support weapon
3 1x medium support weapon
4 1d6 small arms, roll again
5 1x medium support weapon
6 1d6+2 small arms
7 1x leader, 1d6 small arms, 1x light support weapon
8 1d6+2 small arms
9 1d6 small arms, roll again
10 1x light support weapon
11 1x leader, 1d6 small arms, 1x medium support weapon
12 2d6 small arms

Roll 1D6 for units without a leader and on a 1 replace 1 figure with a leader

Victory

The US player wins if they eliminate the HAWK battery and keep the initial objectives secure. They can be more victorious if they rescue the helicopter crew and less if the suffer too many casualties. They really lose quite badly if al Shabab keeps control of the nuclear weapon.

Hopefully that is clear enough, I usually just jot down some rough notes as reminders for myself. Let me know if there are any questions or places where it can be clearer.


Sunday, June 14, 2015

Elements of Destruction -- Cangames 2015


On Sunday at Cangames this year I ran a Force on Force game (as has become customary).

This years game was an American special forces raid on a terrorist camp containing weapons of mass destruction. I am going to split my discussion of this game into 2 parts: This first part will be some pictures and an after action report and the next post will be about the sceanrio itself (since someone had asked). There already some AARs on Mike's blog and on Stan's blog


The sun is just rising on a sleepy East African city as the Delta Force commandos arrive.

An antiquated (but strangely still functional) Honest John tactical nuclear missile launcher sits in a square under the shadow of the ruins of an old Italian colonial building.


Everything is peaceful looking at first...
as Delta Force head towards the launcher,
the warheads,
and a cache of possible chemical agents.

The launcher and stockpiles are quickly seized but when the helicopters arrive for extraction, a Nike HAWK SAM battery reveals itself in the ruins of the colonial building and shoots down one of the helicopters.

Reinforcements are on the way from a supporting Ranger unit who manage to set the main gate alight before they have passed through it.

At this point, I was to distracted by running the game to take any more pictures (so I recommend you check out the blogs I mentioned at the beginning) but after a hard fight the US forces managed to take out the SAM battery and the Elements of Destruction were back in the hands of their rightful owners.


Louisburg -- Cangames 2015

I was looking forward to this game quite a bit. I had seen bits of the fortress under construction and heard reports about the games in Kingston but this would be my first chance to give it a try.

I ended up on the French side (I think mainly because that was the side of the table I ended up on) commanding the bastion on the shore side of the fort (I forget the name of it). Mike has posted his thoughts from the British side here
This shows the section of the wall that will be fought over looking from the sea side. There are 2 bastions connected by a long curtain wall with the town in behind. The british are in trenches at the foot of the scarp (I think that is the term) leading up to the moat. The gate and the bridge should have been at the end but they were overlooked in packing and so were AWOL for the battle (which is a shame as they are very good looking pieces).

Here is the view from the French side. Quite a bit of the French force is set up some distance from the ramparts.
Another view of the fortress giving a better look at the Governor's mansion

Two of the British players and the game master.
When we started the building of the town were removed to show the ruins left behind by the British shelling.


On the walls initially were some cannon and some infantry (but not enough infantry to hold the wall on their own).
The British assault began with the Rangers moving up into the moat towards the curtain wall

Other Rangers were advancing towards my bastion as well.

Some well timed musketry was enough to slow down the Rangers while the guns engaged in some counter-battery fire.

The Rangers fired back at the curtain wall but some nasty enfilade fire would be waiting for them as they moved into the moat!
Meanwhile the highlanders had moved on the undefended corner of the bastion and had scaled the ramparts!

The militia are moving into the attack (but defense of the town can't be allowed to interfere with other tasks like milking so the cow comes along for the attack).

Will they get there in time?
Meanwhile the centre of the bastion is also coming under attack.
The regulars are also rushing to help with the defense.
The militia and the regulars clash with the highlanders at the corner.

The tide seems to be turning with only on British stand on each corner of the fortress.

There are still lots of redcoats advancing to the wall (though the middle unit seems to have changed its mind about the whole attack thing).
The view from the British side.
The British attack on the other bastion.


The highlanders struggle to keep their foothold on the top of the wall in the face of determined attacks from the militia.

While the French commander is distract by political squabbling  (the playing card represents a random event indicating this) the British pop up on the centre of the wall again.
Finally the wall is clear again and the British slink back to their trenches defeated.

This turned out to be a very enjoyable game and the card activation gave some interesting moments as a long run of British cards helped them get onto the wall but then a run of French cards (combined with really good die rolls for the militia) drove them back off.


Saturday, June 13, 2015

Stop the Romans, the Battle for the Dyke at Cangames 2015

My computer is back in action so I now have to get through my backlog of Cangames reports.

First up is Stop the Romans

In this battle the Romans are rushing forward to try and seize a defensive dyke from the British before the bad weather sets in. The Roman forces are 3 divisions of mostly infantry with some engineers, light cavalry and archers. The British have 2 divisions of warband and sling and 1 division of cavalry and chariots as well as assorted light troops on the wall and a group of fanatic warband lurking behind the dyke.

The table at Cangames was quite a bit narrower than the one I used when I playtested it (as seen here). I did briefly think about getting another table but that would have made the table awkwardly wide so I had the dyke extend into the river and declared it as passable but bad going (and refused to answer any questions about the British chariots got across the dyke!)
The forces I used were the same as for the playtest -- I had hoped to add one more cavalry and one more warband to the British and one more legion to the Romans but the British reinforcements got lost on the way so I just left things as they were before. The British were set up further back from the table edge so that would be closer to the dyke if they chose to fall back to it.

The Romans could choose for each of their division to either not come on on turn 1 or to come on but have each unit roll individually for orders and to be ordered to move forward the maximum they could. All 3 Roman players choose to come on and the command rolls went pretty well for them.

The forces did get a bit mixed up like the archers charging ahead towards the British cart but most of the units came on the table.

 The British weren't quite so lucky with their rolls and one infantry division didn't move at all. The other did move up towards the Romans.

The Romans continued their march across the battlefield towards the dyke.

The British chariots charge into Roman Auxila

The battle is raging on the Roman left but on the right the British are mostly staying out of contact.

But finally, the Roman Marines fight the British warband.

 The Numidian Light Horse shows more bravery than common sense and attacks the British Cavalry
The light horse is easily driven off but the Legion are another matter altogether.

The victorious Romans resume their advance.

The Legion advances slowly to the dyke.
But due do a blunder in the command roll, the auxila advance much less cautiously and put themselves in front of the Legion
The Romans manage to get them selves sorted out and the Legion clambers up the fascine to the top of the dyke
The druid fanatics charge up the reverse slope of the dyke hoping to drive the Romans off.
The right wing of the Romans spend some time regrouping before they face the dyke.


The druid fanatics drive the romans off the dyke and charge down into the main Roman force

While on the other flank the Romans continue their more methodical advance.
After driving of the druid fanatics the romans go back up the fascine only to run into yet another druid fanatic.

But the Romans on the other side are now at the top of the dyke and there is no real opposition left on that side.

The game ended as a Roman victory but it was a hard fought battle and I think it could have gone either way.